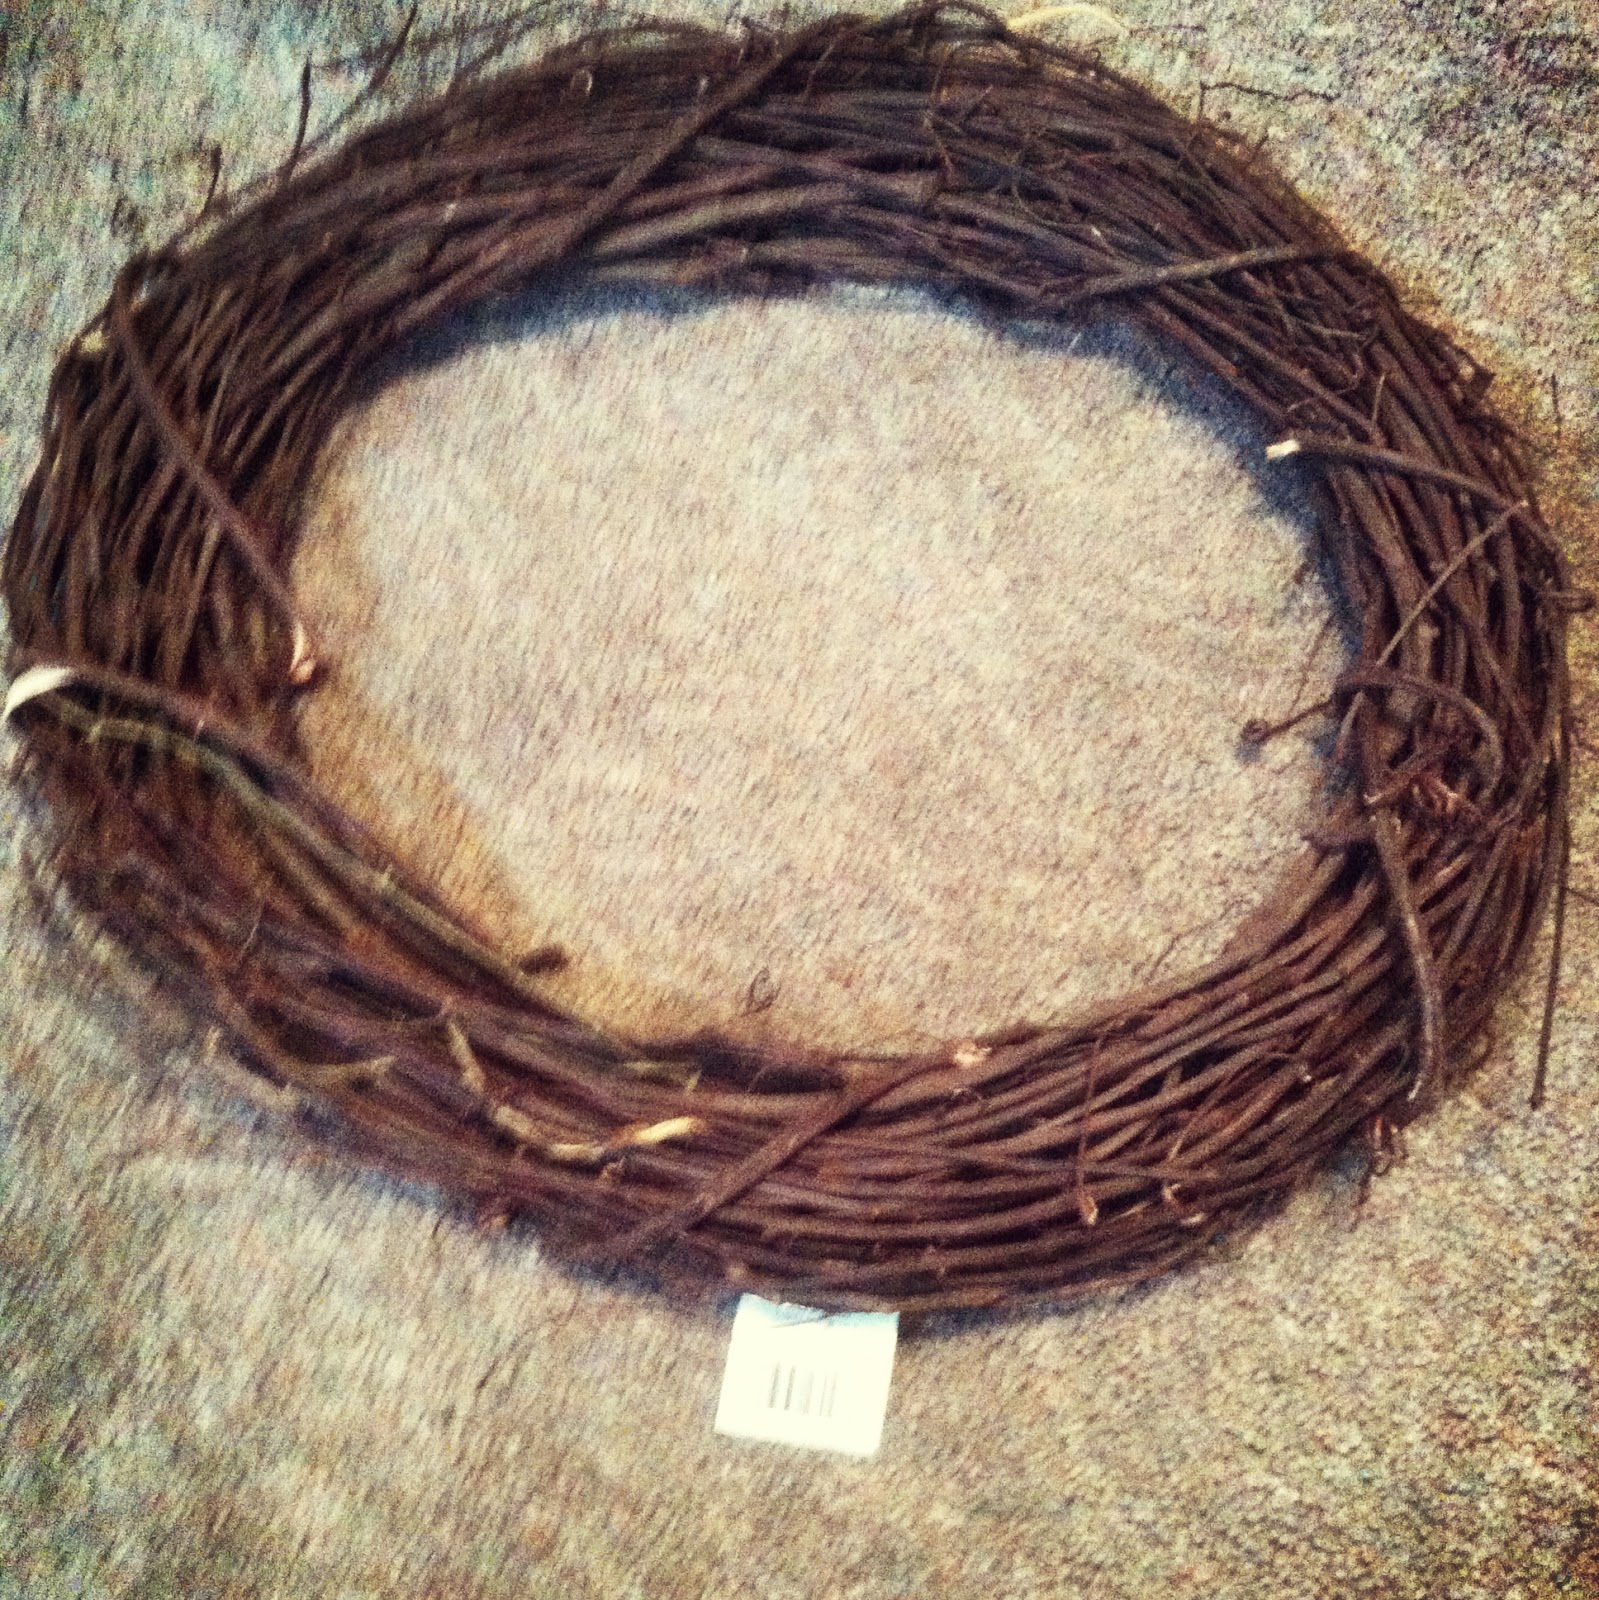
I headed to Jo-Ann Fabrics, which I've been using as my go-to craft store more and more lately. I picked up a plain wreath to use as my base. This little beauty cost me about 5 bucks.
Next, I headed to the "Floral Inspirations" isle to pick out my flowers, which proved to be the most difficult part of the process. There was so much to choose from! At first, I was all over the map. I couldn't figure out a color scheme, because everything was so pretty! Finally I was able to narrow it down to lavender, yellow, and magenta. But even when I picked out my key colors, there were still a lot of options. But this is what I ended up with!

I got one single pink rose because I knew I wanted that to sit right at the top. Then I grabbed a bushel of different color Gerbera Daisy, and some Baby Cosmos Spray. Bonus: all the flowers at Jo-Ann's were 40% off! The flowers ended up costing around $12.
I knew I wanted to add a little extra something to the wreath besides just the flowers, and these cute little butterflies ended up being the perfect touch. And they were only $2.99!

I also grabbed some cloth wire in the same color as the wreath so I could make sure everything was secure. $1.99.

Finally, time to create! Making the wreath was probably the easiest part. I made sure when I snipped the flowers off of their bush, I left a few inches of stem to tuck into the twigs of the wreath to make it more secure. I arranged everything so the big rose was at the top, the daisies were spread evenly around the circumference, and the spray was tucked into the empty spaces. Next I added in the butterflies, which conveniently had little clips on the backs of them, so they were easy to attach. Then I took the wire and wrapped it around about 7 different spots. Didn't want anything to budge! I am in love with how it turned out!

New life to my front door! Now if only this nice weather would stick around. No more snow, please!! So all in all, this ended up costing me a little over $20. Not too bad for how nicely it turned out. Way better than a pre-made one for $50!!
No comments:
Post a Comment